

Small taps and small drills rarely break for only one reason. The usual root cause is a stack-up of runout, weak clamping, chip packing, hole-size error, and feed synchronization. Before changing brands or tool material, check the setup as a complete system.
Start with runout and clamping
For M3 taps, 1.5 mm drills, and other small tools, a small amount of runout becomes a large percentage of the tool diameter. In practice, that means one cutting edge works harder than the other, the tool bends slightly, and breakage may look random even when the tool is sharp.
Check the holder, collet, spindle, and fixture before blaming the tap or drill. The tool should be clamped straight, the workpiece should not move under cutting load, and the tool tip should enter the prepared hole without side loading.
Match the tap style to chip direction
A spiral point tap pushes chips forward, so it is normally a better starting point for through holes. A spiral flute tap pulls chips back toward the spindle, so it is often used in blind holes. A forming tap avoids cutting chips, but it needs a ductile material and a different tap-drill size.
That distinction matters because chips left in a confined hole can jam the tool during forward cutting or reverse motion. When the tap reverses, trapped chips can chip the cutting edge or twist the tap until it breaks.
Check feed synchronization
In rigid tapping, spindle rotation and Z-axis feed must match the thread pitch. If the feed is even slightly wrong, the tap is pulled or compressed instead of cutting freely. That can show up as torn threads, rising spindle load, or sudden breakage at reversal.
- Confirm the tapping cycle and pitch value in the program.
- Use a suitable tap holder for the machine type.
- Leave enough clearance for acceleration, reversal, and chip exit.
- For older tapping machines, consider whether a floating holder is needed.
Do not overlook the hole before tapping
The drilled hole controls most of the tapping load. If the tap-drill size is too small, the tap must remove or displace too much material. If the hole is tapered, off-location, or full of chips, the tap starts under a side load. If the hole is blind and too shallow, the tap may bottom before the programmed thread depth is complete.
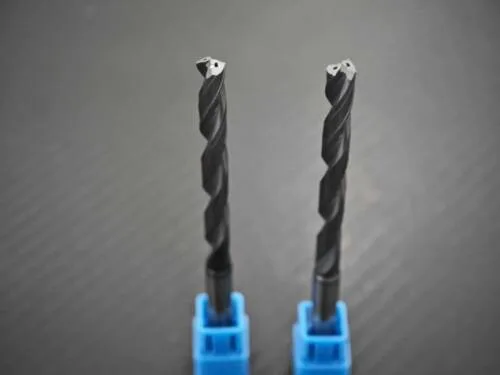
For drill breakage, the same logic applies. A short, rigid setup with good chip evacuation is safer than a long tool hanging out of a loose holder. For deeper holes or sticky materials, a through-coolant carbide drill can help move chips away from the cutting edge when the machine supports it.
A practical troubleshooting order
- Indicate the tool and holder runout near the cutting end.
- Verify clamping of the workpiece and tool holder.
- Check tap-drill diameter, depth, burrs, and chip condition.
- Match tap type to blind hole, through hole, or forming operation.
- Review speed, feed, coolant, and tapping cycle synchronization.
- Only then change tool grade, coating, or custom geometry.
If the operation is still unstable, send the drawing, material, hardness, hole depth, current tool, holder type, machine type, and failure photo through HEYI’s RFQ form. For unusual hole depths, materials, or machine limits, a custom tooling review may be more useful than another standard catalog tool.